Showing posts with label styles. Show all posts
Tuesday, October 18, 2011
simple braids into princess hairstyle pony
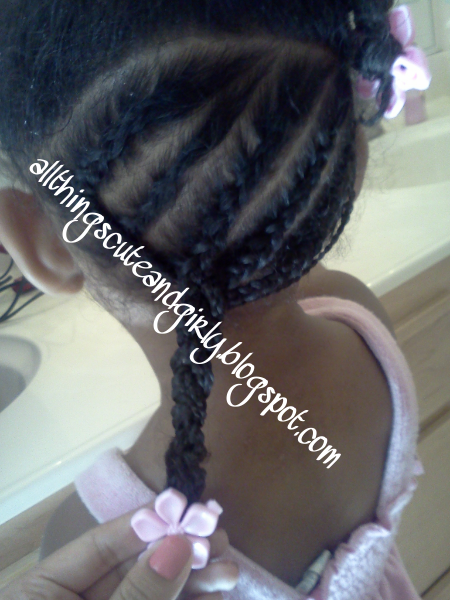
I really loved this simple braided style. It reminded of a princess. I simply just sectioned out a part it in the front and braided a few braids going back. I then divided them in half to braid the braids together and wrap around her head, and then secured them together where they met in the middle. Then, I braided all together and secured it with a barrette . The back was left out. (:
Saturday, October 15, 2011
mohawk with flat twists and cornrows pulled into a side ponytail
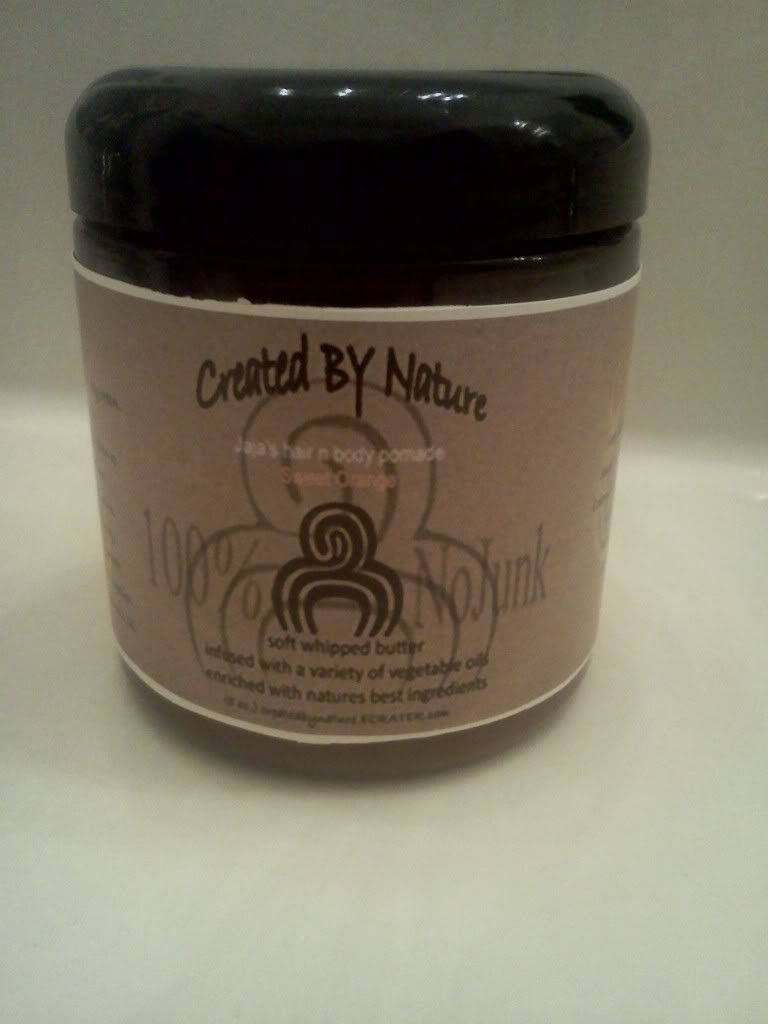
For this style I wanted to do a mohawk with each row alternating between cornrow and flat twist, cornrow and flat twist. Half way with one side I got lazy and just decided to pull the rest into a ponytail to the side. I secured atleast three rows together with rubberbands that were dipped in olive oil and then pulled it together in a ponytail.For this style we used Jaja's hair and body pomade by Created By Nature we won a few weeks ago from a giveaway by Untrained Hairmom. Review coming soon on the product, until then check out Untrained Hairmom's!
Thursday, October 13, 2011
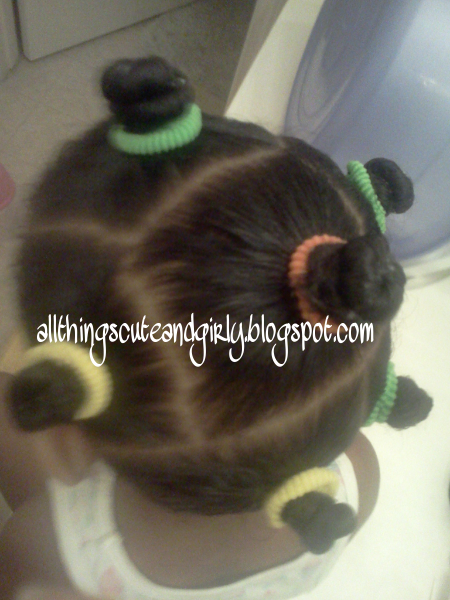
Banding Style On Natural Hair
What is banding? What does it do? Read our post on banding. Here is a quick banded style we did that was different from our normal banding routine. I decided to quickly do this after washing her hair. I was tired of always leaving it out so I decided to band it.For posts with similiar banding styles check out Diva Locks Diva Diva Dos & everything in between and Braid with Me.
Friday, September 23, 2011
cute girl hairstyle: easy, simple braids with ponytail
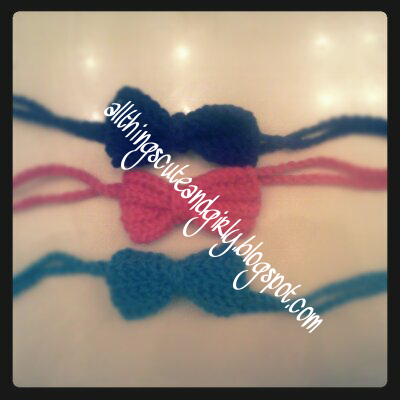
Products used: crocheted headband, rubberbands (dipped in olive oil), bobby pins, rat tail comb (for parting), boar brush, Queen Helene royal curl curling cream, Eco Styler gel, Bee Mine luscious balanced moisturizer
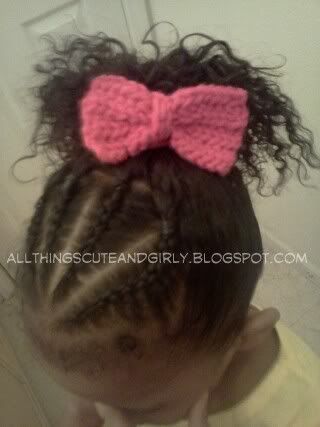
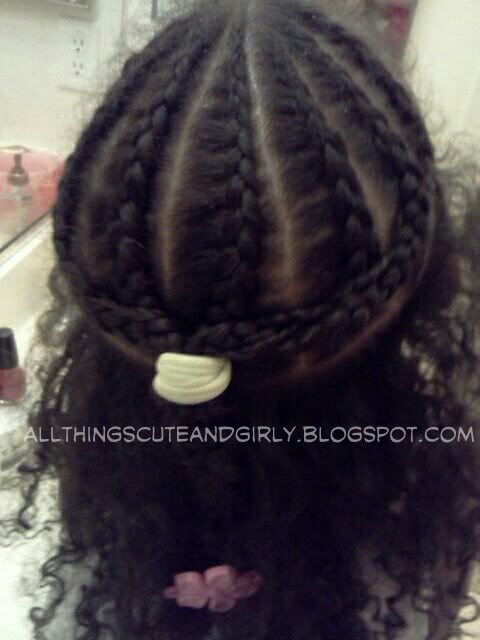
For this cute girl hairstyle, I first parted the hair from ear to ear. I sectioned off the top half and made four cornrows and secured it with a rubberband (dipped in olive oil to prevent breakage when removing).
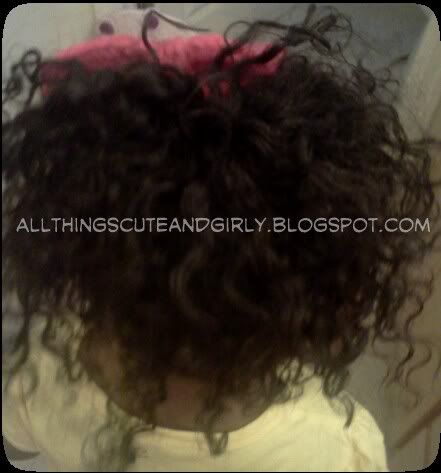
I then randomly parted sections in the back to braid. I had about 6-8 braids total. Each braid was moisturized with Bee Mine luscious balanced moisturizer and then heavily coated with QHRCCSC. I did this because I wanted a nice braid out for the back. I left it in for a few hours and when I removed it, the braid out was wonderful! I wish the pics really showed how great it looked but it didnt get captured esp since I had to put it into a pony.Initially I wanted the four cornrows and then the braidout along with the crocheted headband but it didnt work out. The bow wouldnt work with me so I decided to improvise and do the ponytail and just wrap the headband around her pony to get the final look.
I wrapped the headband around her pony and bobby pinned the bow so it would stay in to place. I then used Ecostyler gel to slick down her sides and used a boar brush to get the pony smooth.
Cute and easy girl hairstyle!
For this cute girl hairstyle, I first parted the hair from ear to ear. I sectioned off the top half and made four cornrows and secured it with a rubberband (dipped in olive oil to prevent breakage when removing).
I then randomly parted sections in the back to braid. I had about 6-8 braids total. Each braid was moisturized with Bee Mine luscious balanced moisturizer and then heavily coated with QHRCCSC. I did this because I wanted a nice braid out for the back. I left it in for a few hours and when I removed it, the braid out was wonderful! I wish the pics really showed how great it looked but it didnt get captured esp since I had to put it into a pony.Initially I wanted the four cornrows and then the braidout along with the crocheted headband but it didnt work out. The bow wouldnt work with me so I decided to improvise and do the ponytail and just wrap the headband around her pony to get the final look.
I wrapped the headband around her pony and bobby pinned the bow so it would stay in to place. I then used Ecostyler gel to slick down her sides and used a boar brush to get the pony smooth.
Cute and easy girl hairstyle!
Saturday, September 17, 2011
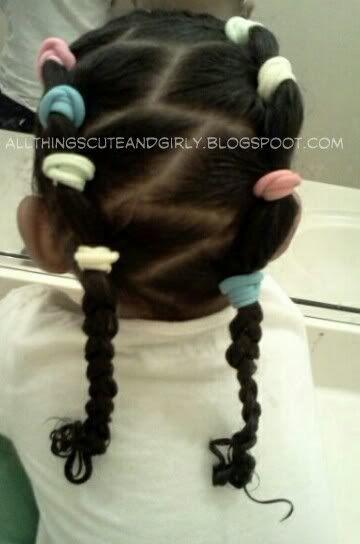
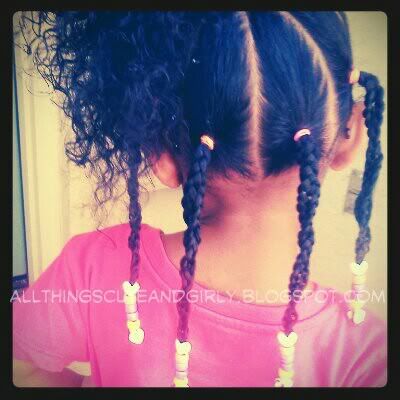
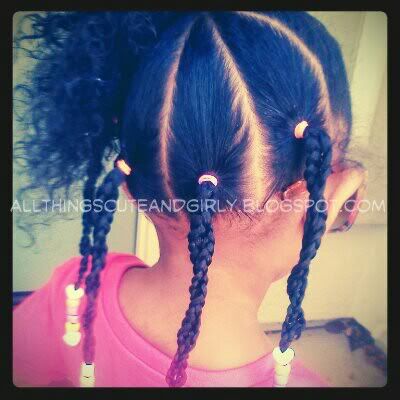
cute girl hairstyle: easy braids
Read below to see how we achieved this easy style which includes just braids!
1.) Start on clean, detangled hair.
2.) Part hair in half from ear to ear and tie off the top section.
3.) Part the bottom portion in half vertically so that you have two even halves.
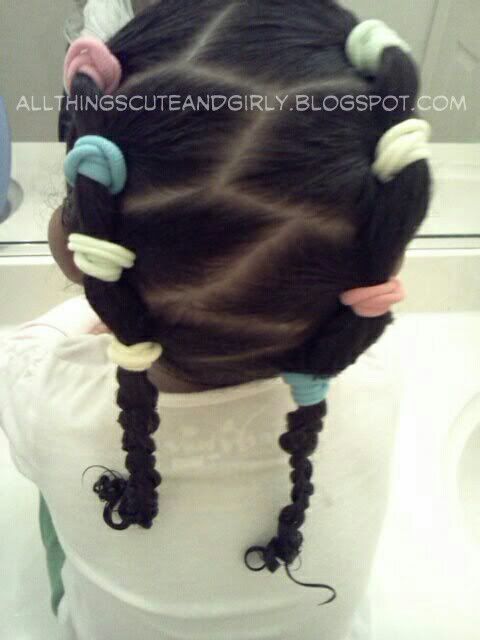
4.) Start with one section and part it in half again diagonally to form the above look. Repeat with the other side. Tie each individual (should be four) section with a rubberband (dipped in olive oil to cause less breakage when removing) or ouchless ponytail holders.
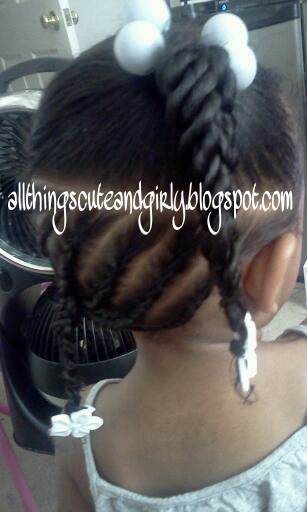
5.) Separate an individual section into two even sections. Braid each section and then twist around eachother. Then tie off with a rubberband. Repeat with all sections.
6.) Return to top section and properly fix to your liking.
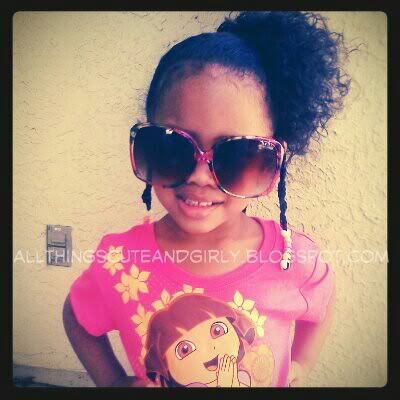
And you're done! Its that easy! Its an easy style!, easy braids! Since we were in a hurry and needed a quick style I chose to leave the top part in just a cute ponytail puff. If you have extra time you can do the entire head with this look. As you can see we also accessorized the ends with beads. You can choose to leave it plain, add beads, barrettes or both! Anything will look cute with this style. I love how this is a really easy style and doesn't require much skills so ANYBODY can do it. Its just simple braids twisted together to create this cute girl style.
Saturday, August 27, 2011
our first bantu knots and bantu knot out
the results were wild! I only left it in over night and and took it out the next day. I liked the curls...a little. They were definitely different looking but we still have a ton to learn. The back sections didn't have much hair in the bantu knots, that's why the bottom looks thin. I applied our glycerin mix (because I did ths immediately after taking out a style) and eco styler gel to each section when doing the knots. When I removed them I tried to gently separate them and apply kinky curly curling custard very lightly. I'd like to give this a go again. Any tips or tricks for us?
Thursday, August 18, 2011
A twist on diagonal braids
After writing the title I realized that it was the perfect fit!
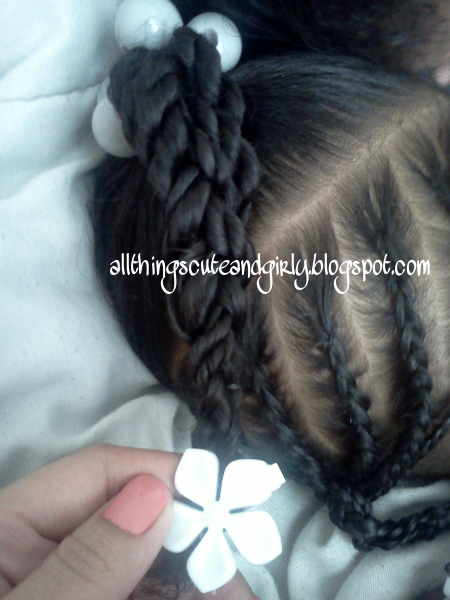
I decided to do a quick style similair to the diagonal braids. I left the top portion gathered in a ponytail and created about 4-5 3-strand twists with the hair left out. I then braided the twists together and secured it with a rubberband and barrette. Enoy!
Subscribe to:
Posts (Atom)