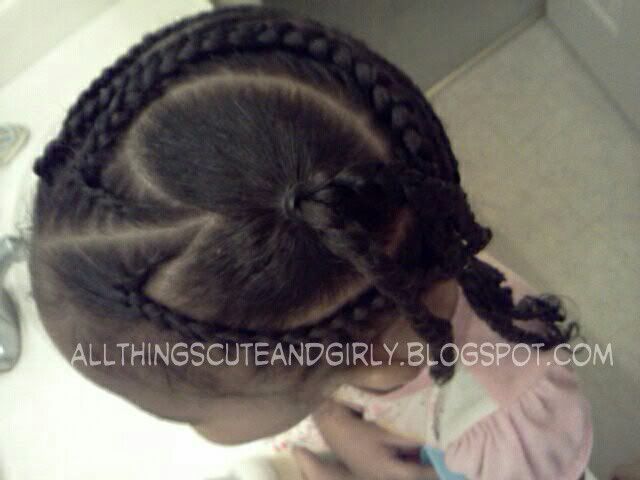
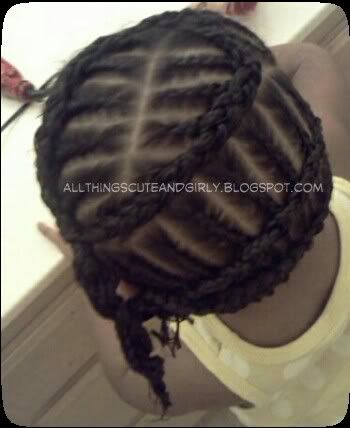
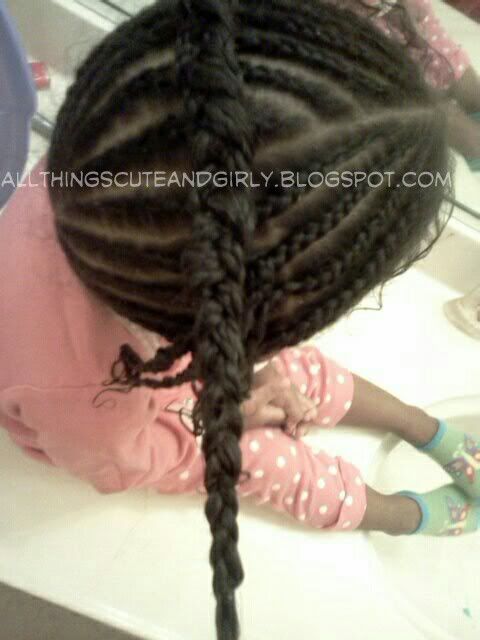
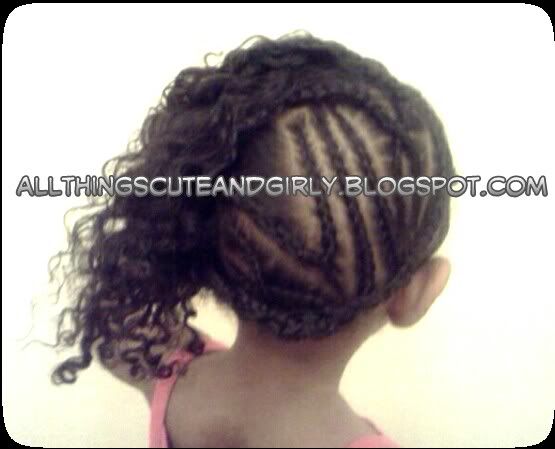
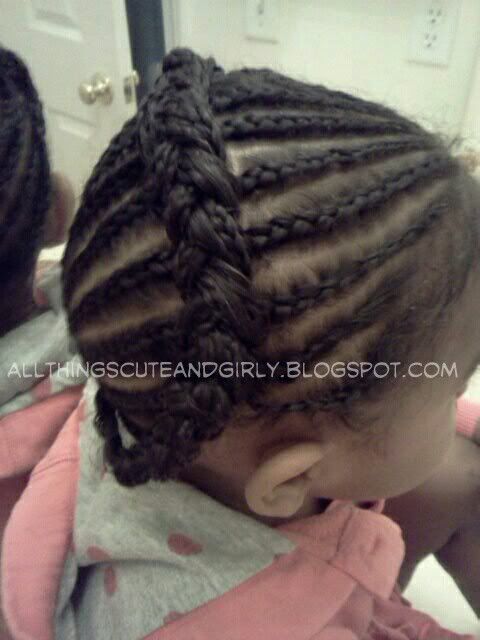
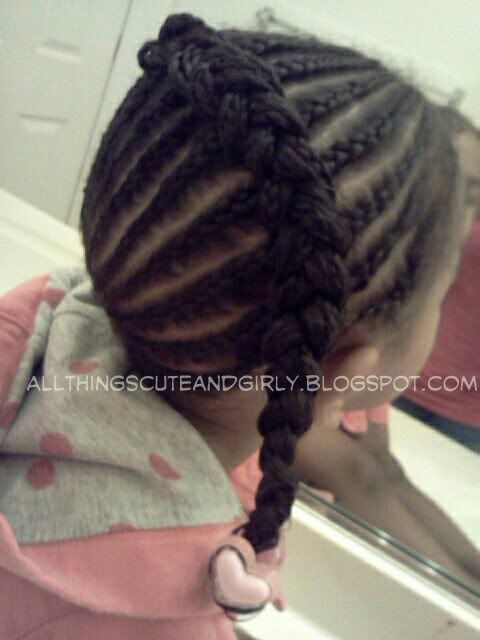
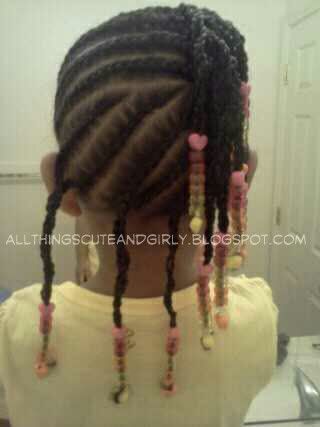
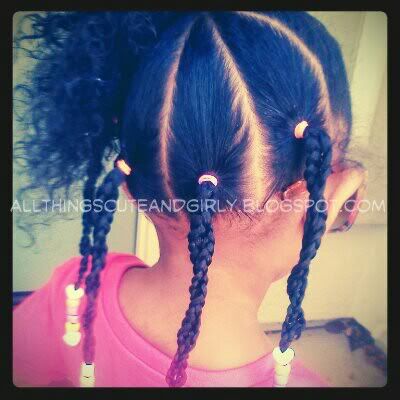
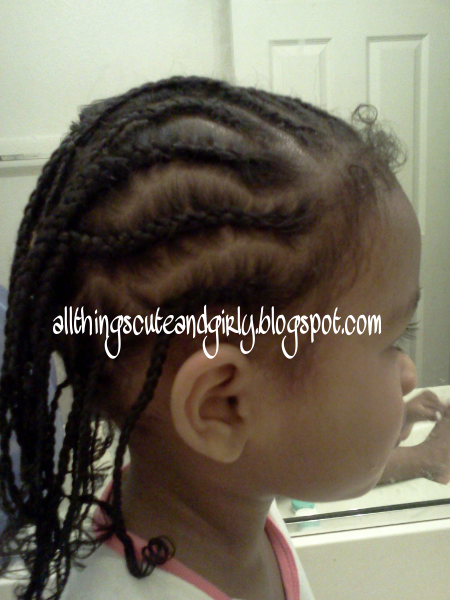
she did not wear the style like this. I just moved the bottom braids to the back to show what was done. It looks funky like this but the bottom braids were pulled to the side thats why it was parted diagonally.
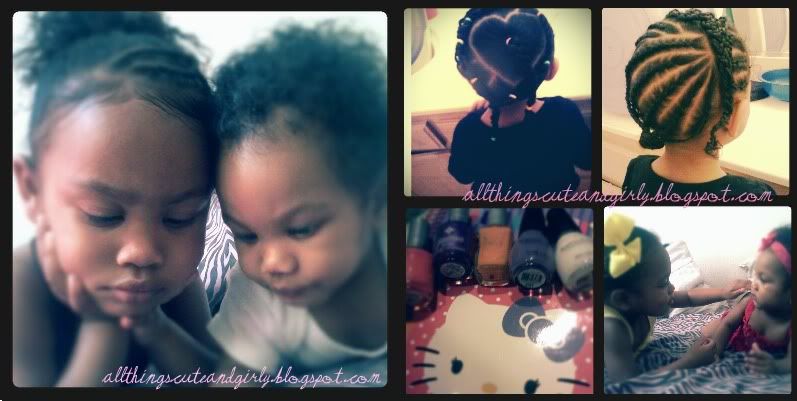
Let me start off by apologizing for the lack of posts lately. I know I've been slacking. Also excuse the weak post titles. Im obviously not good at naming styles.
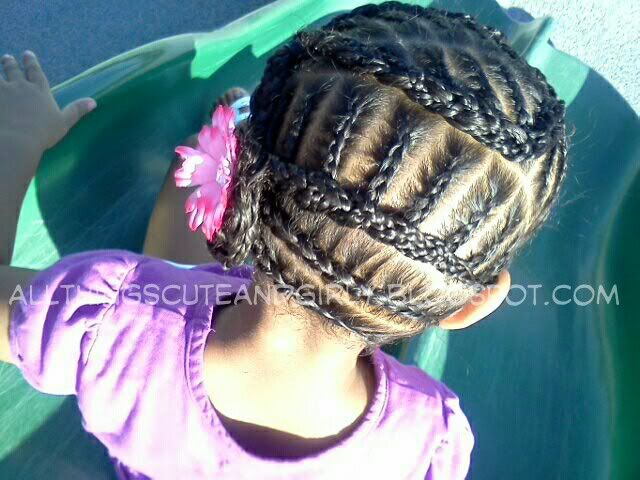
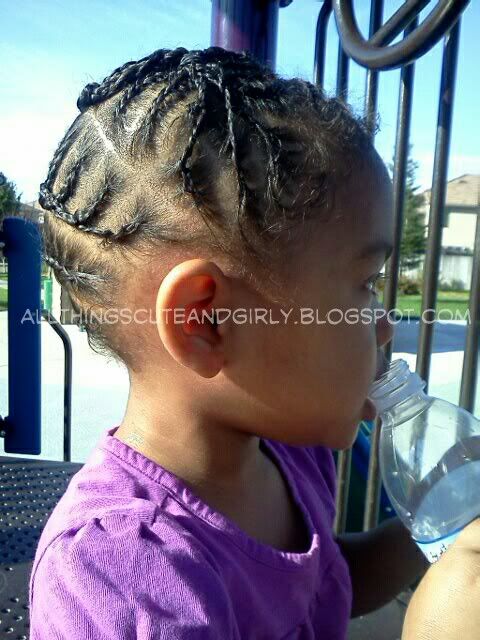
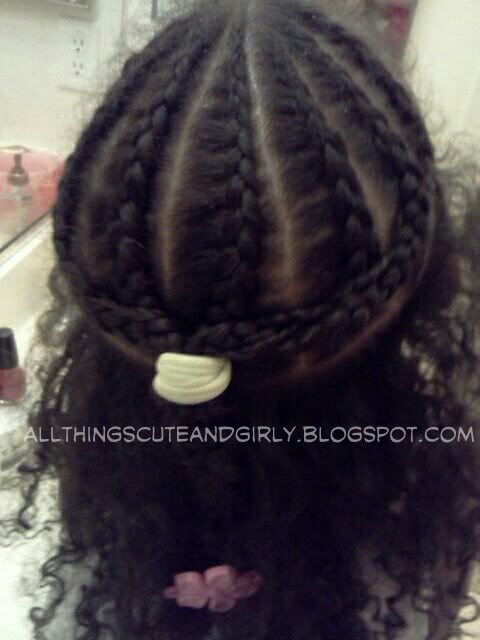
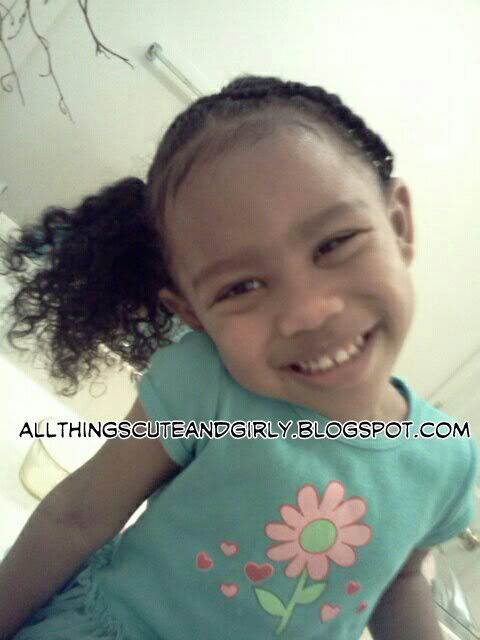
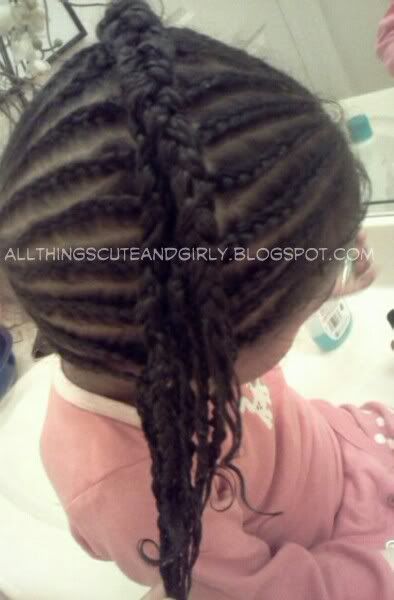
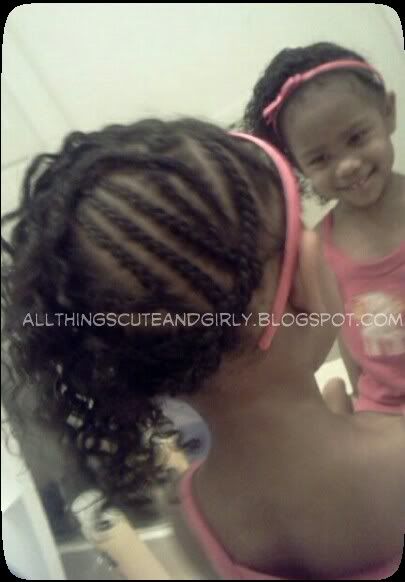
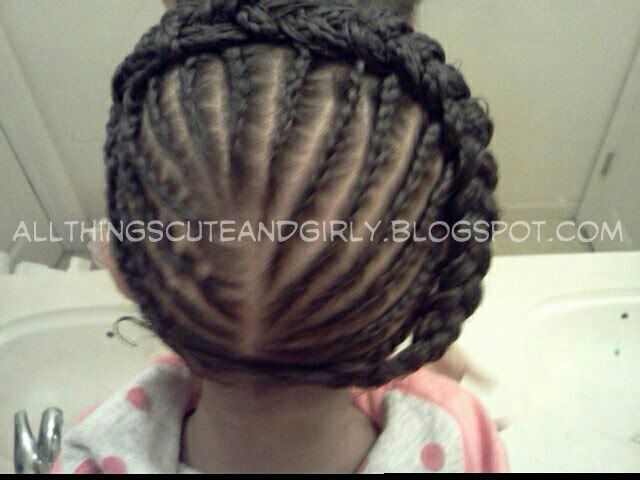
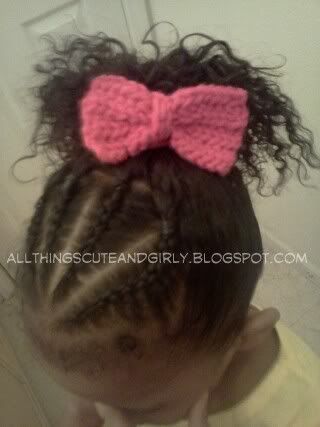
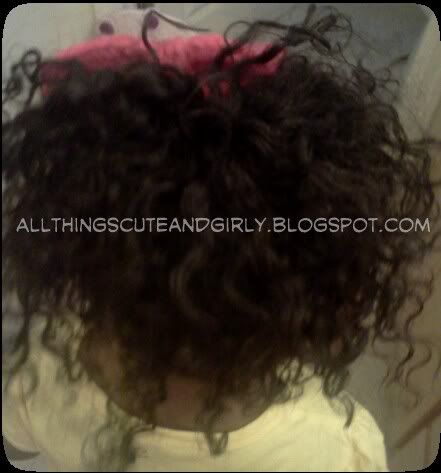
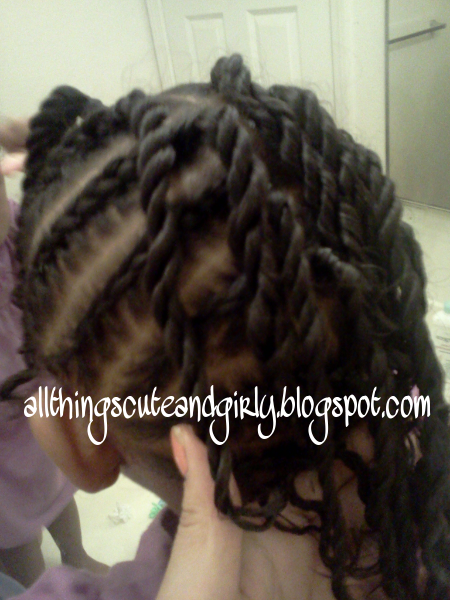
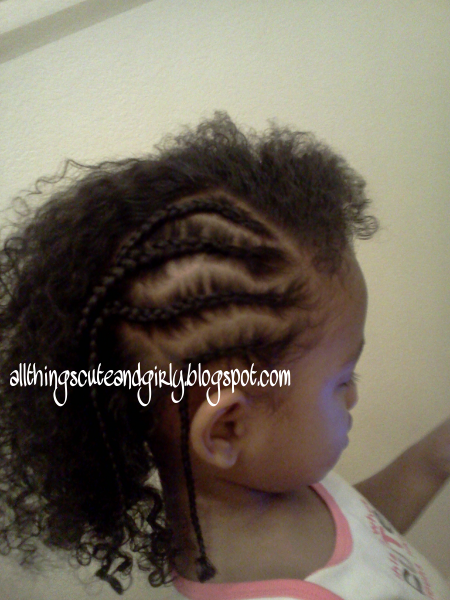
I did this style about a week and a half ago and really enjoyed the outcome of it. If you do not know already, I LOVE mohawks. It is def our go-to style when I draw a blank on what to do. I have always wanted to do a mohawk that fell to the side. Here is what we came up with. On clean, detangled hair these are the steps I took to achieve this look.
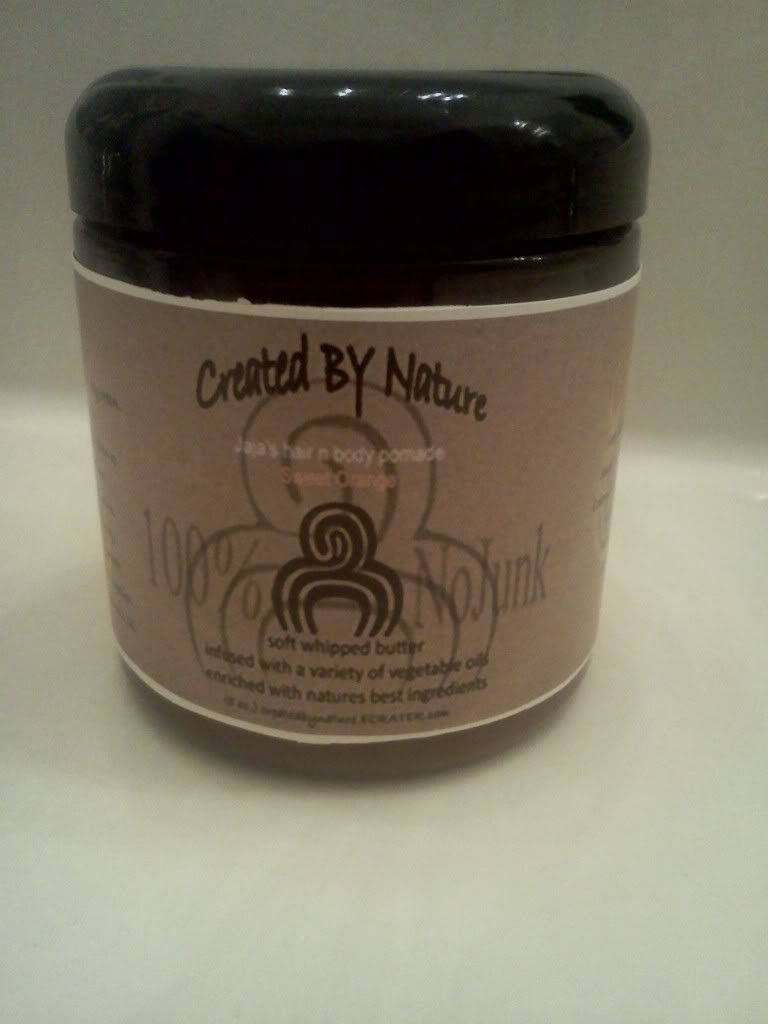
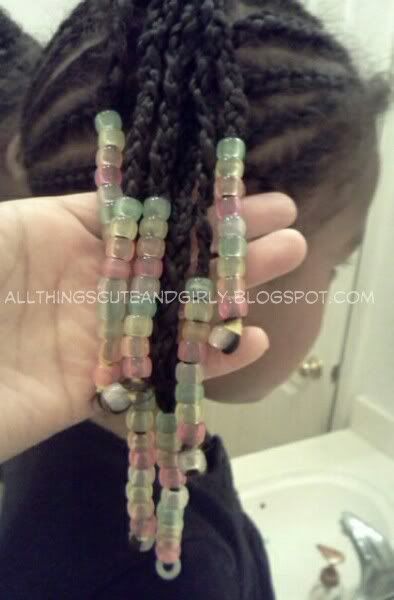
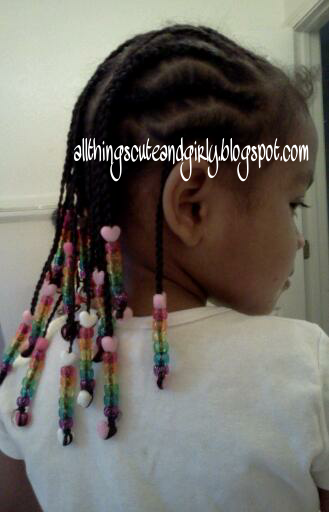
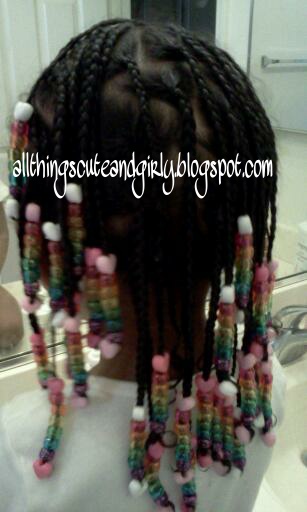
Products used: shea moisture curl enhancing smoothie, eco styler gel, widetooth comb, pintail comb (for parting), rubberbands dipped in olive oil (for beads and causes less breakage when removing).
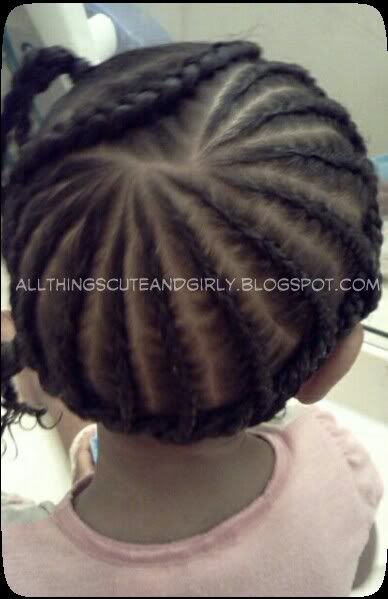
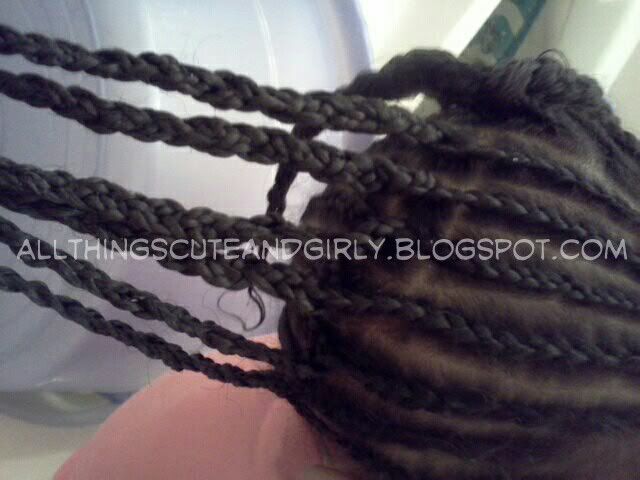
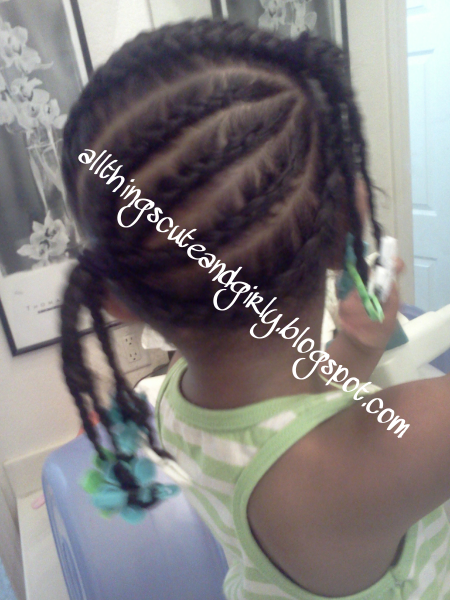
1.) I parted the hair in half from ear to ear and tied the bottom half off.
2.) I parted a section in the front to braid two cornrows as bangs and lay on the left side (opposite of the way I wanted the mohawk to lay).
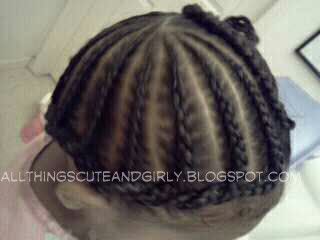
3.) I then made a part on the right side of the top portion of the hair so that the mohawk would be right sided instead of straight down the middle.
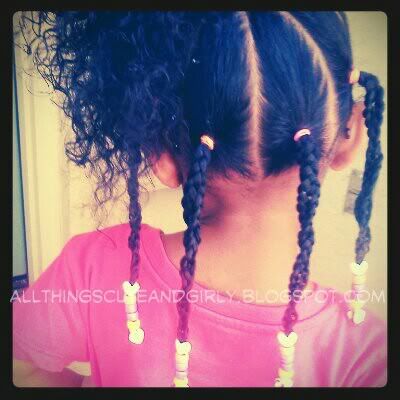
4.) I had about a total of seven braids per side when I was done. The braids were pretty skinny and since I was going to be adding beads I did not want to weigh each strand down with it so I decided to grab braids across from eachother and twist them together. I did the same with the bangs. This made the strands thicker and I felt better about adding beads to it.
5.) For the remaining bottom section I made six braids diagonally. I did the same to these as well by twisting two braids together.